At Floyd Australia our Customer support team is dedicated to providing 100% commitment for all customer enquiries. If you have an enquiry regarding this website or you just want more information about our products and services then either contact us direct on the company details provided or please fill out our contact us form, then press submit, and a friendly customer support team member will reply to your enquiry.

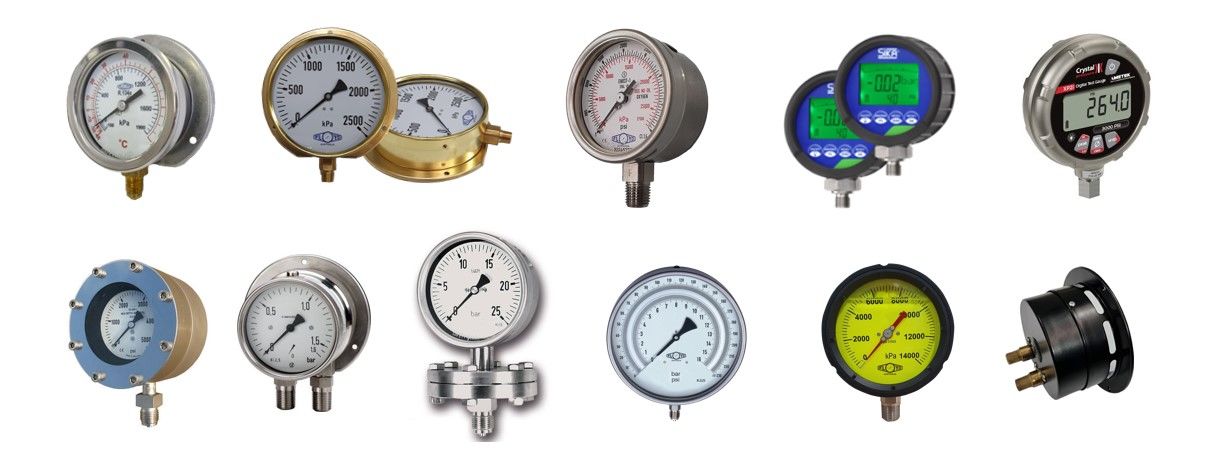
Selecting the appropriate Pressure Gauge can be challenging, particularly when you don't have a part number. The following step-by-step guide will walk you through the basics of selecting a pressure gauge.

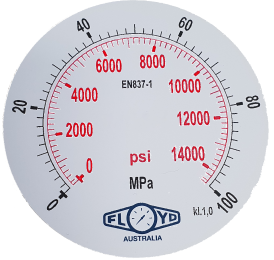
 | STEP 1: Pressure Range (kPa)The first thing you need to know when purchasing a pressure gauge is what pressure range you need (“kPa” is the Australian standard). Since the accuracy of most pressure gauges is best between the 10 and 2 o’clock position, you should always select a gauge with a range that is about twice your normal operating pressure. For example, if you’re normal working pressure of 50kPa you want to select a gauge with a 0-100kPa range. The rule of thumb with pressure gauges is that when the operating pressure of the system is normal, the needle should be pointing straight up or in the “twelve o’clock” position. This makes the gauge easier to read at a glance. If you cannot find a gauge at exactly twice your working pressure, go to the next step up. For example, if you want a 0-200kPa gauge as this is not a standard range a 0-250kPa gauge can be substituted. If the range is too low and the gauge is over-pressurized it will distort the internal bourdon tube. If the bourdon tube is distorted then the gauge becomes nonrepairable. |
There are five basic connection types for mounting:
|
DB (Direct Bottom) A Direct Mount Bottom Entry Gauge screws directly into the testing point. The pressure connection is at the bottom of the gauge. |
DR (Direct Rear) A Direct Mount Rear Entry Gauge also screws directly into the testing point, but the pressure connection is at the rear of the gauge. |
SB (Surface Bottom) A Surface Mount Bottom Entry Gauge mounts against a wall using the flange at the back of the gauge. The pressure connection is at the bottom of the gauge. |
FR (Flush Rear) A Flush Mount Rear Entry Gauge screws into a panel using the flange around the bezel of the gauge. The pressure connection is at the rear of the gauge. |
PR (Panel Rear) A Panel Mount Rear Entry Gauge screws into a panel using a U bracket and the two studs are welded to the rear of the gauge. The pressure connection is at the rear of the gauge. |
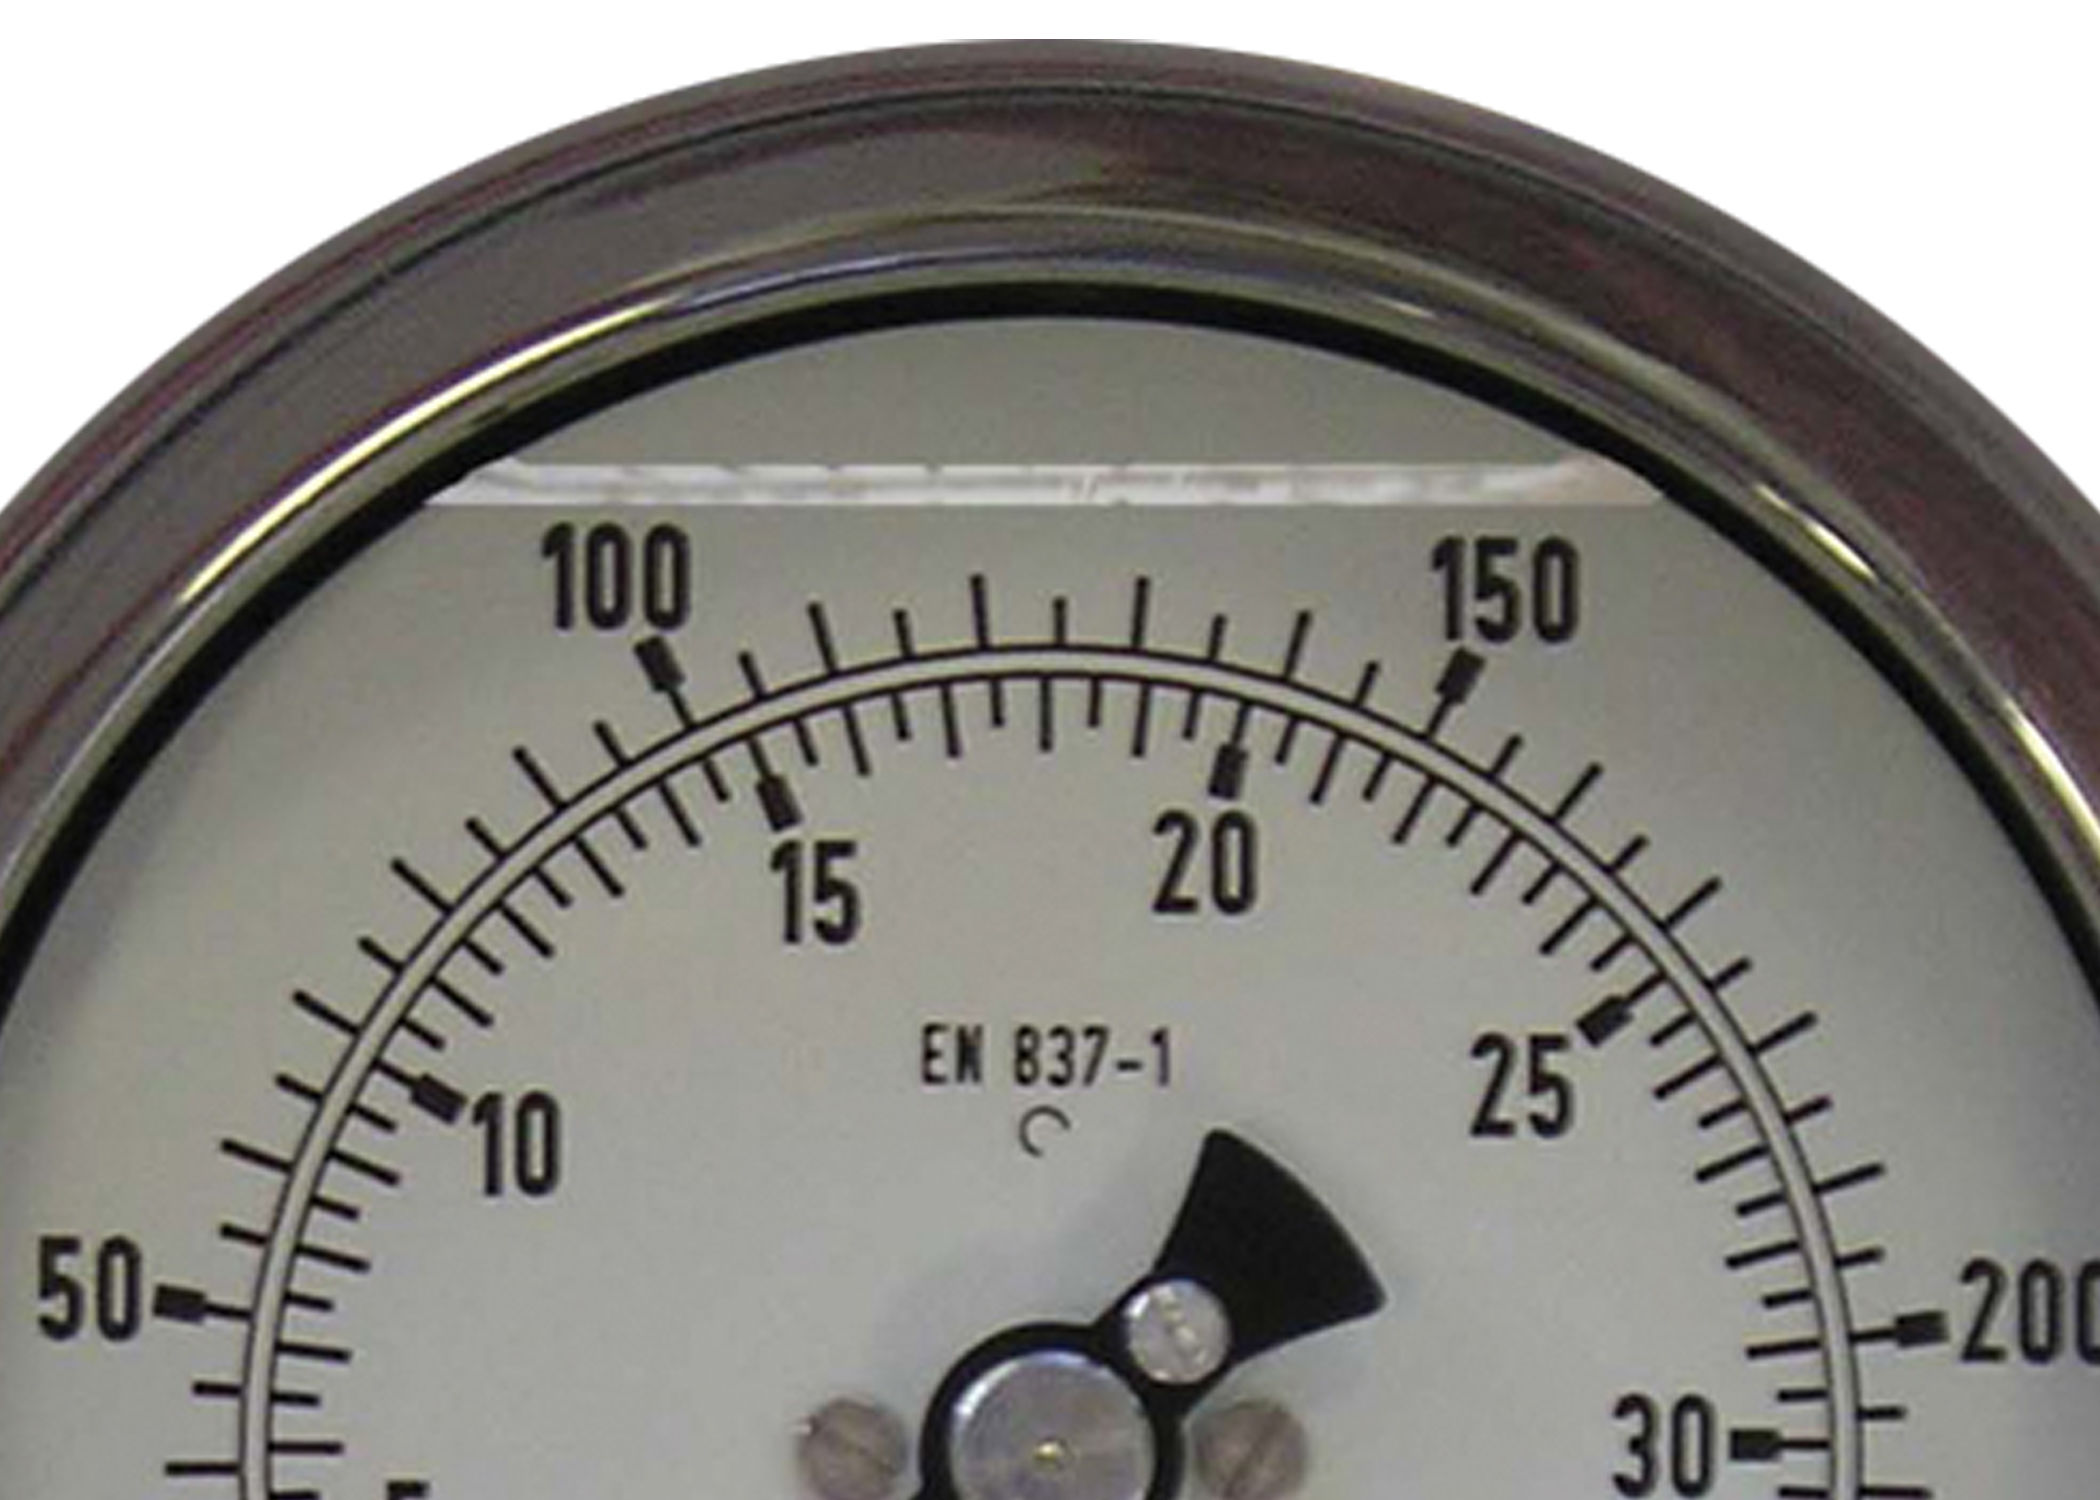
 | STEP 3: Dial SizeDial size refers to the diameter of the circular face of the gauge. Our gauges range in dial sizes from 50mm for tight spaces to 300mm for reading from a distance. When selecting a gauge choose one that fits within the physical space available and a gauge size that is easy to read where you have it installed. The most common gauge sizes are 63mm, 100mm, and 150mm. |
|
| STEP 4: ConnectionYou also have to consider connection size. Standard connection sizes are as follows: | ||
| DIAL SIZE | CONNECTION | MATERIAL | |
| 50mm | 1/8 BSPT | BRASS ONLY | |
| 63mm | 1/4 BSPT | BRASS OR ST/ST | |
| 100mm | 3/8 BSPT & 1/2 NPT | BRASS OR ST/ST | |
| 160mm | 1/2 BSPT | ST/ST | |
| If you're replacing a gauge, you want to be aware of the existing connection size. Other connection sizes are available on request or by means of adaptors. | |||
 | STEP 5: Wetted PartsThe "wetted parts" of the pressure gauge are the parts that come in contact with the process that is being measured (liquid, air, gas, etc). The most common materials are brass and 316 stainless steel. Brass is less expensive and is a great choice with non-corrosive gases or liquids (for example air, water, or gasoline). Stainless steel stands up better to steam, acid, and alkaline substances and is more durable. If selecting a gauge for use on acid or alkaline substances you must refer to a chemical compatibility chart to ensure these are compatible with 316 stainless steel. |
 | STEP 6: Oil-Filled (Glycerine)There are two reasons to fill a gauge with oil (we generally use Glycerine as it is the most common all-purpose liquid, silicon oil is recommended for high-temperature use). Glycerine slows down the pointer if the pressure is pulsating, thus making the gauge easier to read. The liquid also lubricates the internal parts of the gauge, making it last longer. So if you have an application with a lot of vibration, or want to get a longer life out of your gauge, go for a liquid-filled case. We have two options available: dry case and glycerine filled.
|